
Related Posts


")
A Total Showstopper!
When gathering with friends, having a stunning cheese board is a wonderful way to impress your guests. However, buying a pre-package cheeseboard can blow a hole in your wallet. In this article, discover just how easy it is to prepare your cheeseboard for a fraction of the price.
")
Step 1: Start With A Board
Cheeseboards are typically assembled on a slate or wooden tray, which may be square, rectangular, or round. But if you don’t already own one, don’t feel like you need to go out and buy one. You can also use a plate, a cutting board, or even a baking sheet. Any flat surface will work. All of this is really up to your own aesthetic preferences.
Step 2: Start With The Big Items
When building your cheeseboard/cheese plate/charcuterie board, start with the biggest items and arrange the smaller ones around them. Place the bowls for your dips, as well as the larger pieces of cheeses that you will be arranged on the board.
")
Step 3: Choose The Cheeses
As you begin to arrange the items on your board, you really need to choose the right cheese to suit your preferences. Here are some of our suggestions! The best thing is to choose a variety of cheese with different colours and textures to make it additionally eye-catching.
| Fresh Cheeses | Fresh mozzarella: Usually made from cow’s milk, fresh mozzarella has a mild, milky flavour and soft texture. It’s one of the summer’s most popular cheeses, especially when served with sliced homegrown tomatoes, fresh basil, salt, pepper, and olive oil, a treat known as caprese. |
| Queso fresco: One of the most popular cheeses in Mexican cooking, this slightly salty variety has a dry texture and mild flavour. It’s best crumbled over finished dishes. | |
| Soft-ripened cheeses | Brie and Camembert: These two cheese names might sound familiar—their rich, mild, and creamy appeal make them among the most popular cheeses for serving at parties! |
| Semisoft, semihard cheeses | Cheddar: A basic cheese, but it is a wonderful addition to a cheeseboard. It has a mild or sharp flavour and its colour ranges from cream to pumpkin or orange. It really does hold its own on a cheeseboard as well! |
| Gouda: With its earthy and more pronounced caramel-like flavour, a semi-firm aged Gouda is great for a cheeseboard. | |
| Hard cheeses | Aged Manchego: From Spain, this sheep’s milk cheese has a mellow, nutty flavour. A great pairing with sweeter foods like dried fruits. |
Step 4: Add Meat, Bread, And Crackers
Some good charcuterie options to add to the board are soppressata, a basic deli salami, and prosciutto. Add your meats in a simple stack, folded and fanned out in a line or a half-circle. You can also slice sausages along a bias and add them to your platter.
Plain bread like a baguette works just fine, but other options such as sourdough or plain wheat crackers are a great vessel for cheese, meat and other condiments.
")
Step 5: Fill In The Spaces!
Fill in the spaces on your cheeseboard with a wonderful variety of fruits and nuts. In terms of fresh food, grapes and carrot sticks make a great addition and help to liven up each bite. Having the grapes on the vine when you serve your cheeseboard adds a rustic touch. Dried fruit such as cranberries, raisins and apricots are also a great choice. Use kitchen scissors to cut up the fruit into smaller pieces for easier consumption.
We love using walnuts and almonds on our cheeseboard. However, you can really go wild with this! The rich colour of pistachios also adds a great pop of colour to the board.
Step 6: Fill The Bowls
Lastly, fill up the bowls with other ingredients such as green and black olives. You can also fill the other bowls with flaky sea salt, pesto, salted butter, jam or even truffle honey. This is the best way to show your creativity!
Impress Your Guests Today!
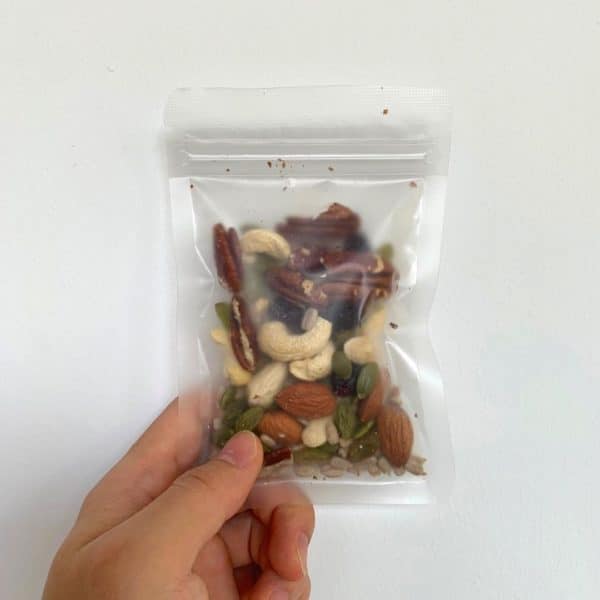
If you’re having guests over, perhaps consider preparing a cheeseboard to impress them. Follow this simple, step-by-step guide to make it a success. Try some of our dried fruit and nuts for your cheeseboard down below.